It is now a vital commodity, just like electricity. We rely on it a lot. Errors such as “Failed to obtain IP address” can be frustrating or even costly for Android users. See below how you can resolve them.
Android users who have encountered the “Failed to obtain IP address” error are not alone. This problem seems to affect users of all Android phones and software versions. We’ll explain why you’re getting the annoying error and how to fix it.

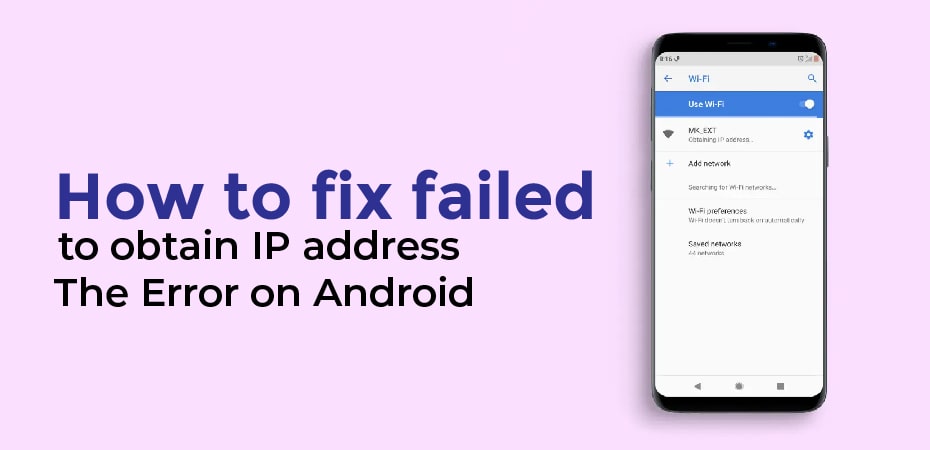
What is the cause of the “Failed to obtain IP address” error?
There is usually an error stating “Failed to obtain IP address” when accessing a Wi-Fi network, whether it is a new network or one that has already been saved on your device. If you receive this error message, it means that the router is having problems issuing an IP address to your device. The user will not be able to access the internet through that Wi-Fi network as long as the problem persists.
However, some users may experience this error message differently. The error may appear as “Obtaining IP address,” but the problem remains the same. Here are the fixes of an error that will tell you how to fix it.
-
Forget your Network:
The first thing you should do is forget the network and sign in again. There are a few simple steps to follow, and sometimes this is all that is needed to resolve the “Failed to obtain IP address” issue.
- Go to the Settings app.
- Then select Internet and Network.
- Click on Wi-Fi.
- Click and hold the network you can’t connect to.
- Click the Forget button.
- Connect to the Wi-Fi network again.
-
Restart Your Phone:
Troubleshooting guides always list this as a first solution, and for good reason. It may seem silly, but restarting your phone seems to fix most problems. Give it a shot!
-
Restart the Router:
The router might be at fault if the phone is not the problem. Try restarting the router to see if it helps. Reset buttons are usually located on routers. You can also unplug the router and reconnect it.
-
Rename your Android Device:
Although we do not know exactly why this would help, many users report that it does. It is also a fairly simple process, so we recommend it.
- Go to the Settings app.
- Click on About.
- Scroll down to Device name.
- Change the name to whatever you like and click OK.
- Connect to the network again.
-
Turn Airplane Mode on And Off:
Your router will have to be reconfigured when you do this. It may also resolve any bugs on your phone. Turn Airplane mode on for a few moments, then turn it off again.
-
Encrypt Your Network with WPA2-PSK:
There are some devices that do not work very well with certain types of encryptions, such as AES and TKIP. Switch to WPA2-PSK in your router’s settings. We can’t give you step-by-step instructions since every router is different, but you can consult your user manual for more information.
-
Set A Static IP Address:
A static IP address is not required for most devices, but certain services require it. These are typically services that need to remember your IP address for security reasons. There may be some network issues when your IP address changes, so try a static IP address to see if that solves the problem.
- Launch the Settings app.
- Select Network and Internet.
- Click Wi-Fi.
- You can connect to a network if you tap on its gear icon.
- In the upper-right corner, tap the pencil icon.
- Select Advanced options from the menu.
- In the IP settings section, tap the drop-down menu.
- Click Static.
- Change the last number of the IP address to any number between one and 225.
- Connect again.
-
Clear The Google Play Services Cache:
There is a reason this method is mentioned in so many troubleshooting guides, and that is because it involves so many things around your phone. The app can be restarted from scratch to solve a variety of problems.
- Launch the Settings app.
- Click on Apps & Notifications.
- Click on All apps.
- Select Google Play Services.
- Click on Storage & cache.
- Click Delete.
- Try connecting again to the same Wi-Fi.
-
Factory Data Reset:
You may consider doing a factory data reset on your Android phone if all else fails and the problem persists for an extended period of time. You will be able to restore your phone to its factory state (software-wise) by doing this. Take a backup of any important files before continuing.
- Go to the Settings app.
- Choose System.
- Select Advanced.
- Tap Reset.
- Choose Erase all data (factory reset).
- Select the Erase all data option.
- Provide a PIN.
The phone will erase all data and restart itself.