There was a time when I truly thought a sharp, aching back was just my new normal. Every morning felt like wrestling myself out of bed. Every long drive ended with a mandatory ten minutes of painful stretching in the parking lot. I tried everything: expensive ergonomic chairs, countless massages, and every over-the-counter pill I could find. Nothing offered real, lasting relief. It felt like my life was slowly shrinking around the persistent, burning core of chronic back pain.
Then, out of sheer desperation, I stumbled onto simple yoga for back routines. Not the head-standing, pretzel-tying yoga, but the slow, gentle, accessible kind. It wasn’t a magic pill, but it was the real relief I had been searching for. This is my story of how five simple poses changed my relationship with my own body and started me on the path to being genuinely pain-free. If you are where I was a year ago, stuck and hurting, this is the simple routine I want to share with you.
The Difference Between Stretching and Spinal Nourishment:
For years, when my back hurt, I did what everyone does: I tried to stretch. I would force my body into painful positions, hoping for a pop or a sudden release. This often just aggravated the pain. What I learned in those first few weeks of consistent gentle yoga was the crucial difference between forcing a stretch and gently nourishing the spine.
My primary issue was not just tight muscles; it was compression and lack of mobility. My entire upper body was collapsing forward from too much time hunched over a desk. The yoga routines I discovered were not about flexibility; they were about creating space, strengthening the deep core stabilizers, and returning my spine to its natural curvature. The simple routines were immediately effective because they focused on spinal decompression and gentle, rhythmic movement that lubricated the joints, rather than aggressive pulling.
Phase One: Anchoring the Core and Restoring Neutrality:
The very first routine I tackled was about getting stable and finding a neutral spine. When your back hurts, your body tightens up in reaction, often leading to a painful misalignment. These poses taught me to breathe into the discomfort and gently reintroduce the concept of a relaxed, aligned spine. This entire initial sequence should take no more than fifteen minutes and can be done daily. This is the foundation of long-lasting back pain relief.
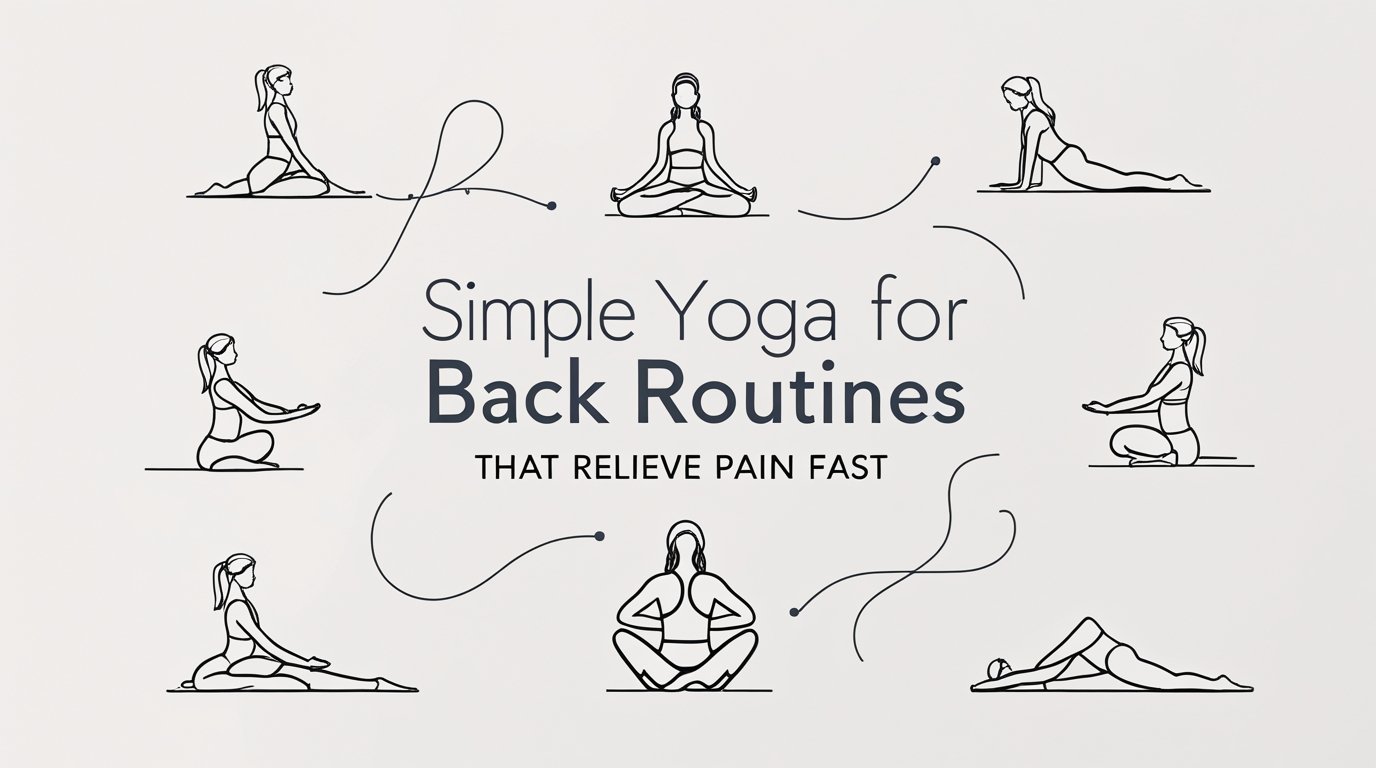
1. Cat Cow Pose (Marjaryasana Bitilasana):
This was the first pose that gave me a true, non-painful sense of relief. It felt intuitive, like what my spine was designed to do.
- My Experience: I started on hands and knees, ensuring my wrists were directly under my shoulders and my knees under my hips. As I inhaled, I gently dropped my belly, lifted my chest, and tilted my tailbone up (Cow Pose). I focused on not letting my neck crunch, just letting my spine follow a graceful arch.
- The Relief: On the exhale, I pulled my belly button toward my spine, rounded my back toward the ceiling, and let my head drop (Cat Pose). The feeling of separating the vertebrae during the Cat stretch was immense. I did ten full rounds, moving slowly with my breath. This gentle rocking movement is excellent for lower back pain because it massages the spinal muscles and increases blood flow to the discs. It is truly the best warm-up for back health.
2. Child’s Pose (Balasana):
Whenever I felt an intense flare-up, especially after a long workday, this was my immediate go-to.
- My Experience: From hands and knees, I simply widened my knees to the edge of the mat, kept my big toes touching, and sank my hips back toward my heels. I stretched my arms forward, resting my forehead on the floor.
- The Relief: This pose is amazing for decompression. It allows the spine to lengthen and the lumbar muscles, which are often in constant spasm, to relax entirely. I learned to breathe deeply here, sending my breath all the way to my lower back. I could feel the tension melting away from my shoulders and neck, too. Staying here for two to three minutes without fidgeting was a major lesson in patience and surrender for the sake of pain relief.
3. Thread the Needle Pose (Parsva Balasana):
My back pain often led to stiffness, making any turning movement agonizing. This pose safely introduces a gentle twist.
- My Experience: Starting again on hands and knees, I slid my right arm under my left armpit, palms facing up, and rested my right shoulder and the side of my head on the mat. I kept my hips high and squared.
- The Relief: This is a gentle thoracic spine opener, meaning it relieves stiffness in the mid back, which often compensates for a weak lower back. It also provides a beautiful stretch across the top of the shoulder and upper back. I held the pose for a full minute on each side. The release of tension in my rhomboids and trapezius muscles was immediate, helping to unlock my entire upper body from its hunched position.
Phase Two: Gentle Strengthening for Long-Term Stability:
Once I had some mobility and the acute pain was managed, I realized I needed strength to keep the pain from returning. My lower back was hurting because my core was weak. These next poses focus on building core strength and glute activation without strain, which is crucial for back pain management. I started incorporating these three times a week.
4. Bridge Pose (Setu Bandhasana):
I learned that strong glutes are the best defense against a weak, aching lower back. The Bridge Pose is a simple but effective way to wake them up.
- My Experience: I lay on my back with my knees bent and feet flat on the floor, hip distance apart, close enough that I could just graze my heels with my fingertips. On an exhale, I pressed into my feet and lifted my hips toward the ceiling. I focused on squeezing my glutes, not pushing through my lower back.
- The Relief: This pose provides a mild inversion and opens the hips, which are often tight from sitting. More importantly, it teaches the body to use the powerful gluteal muscles to support the lift, taking the strain off the overworked lower back. I held it for five full breaths and repeated it three times, focusing on a slow, controlled descent to engage my core stabilizers. Strong glutes mean less pressure on the lumbar spine.
5. Bird Dog Pose (Dandayamana Bharmanasana):
This pose is deceptively simple but incredibly effective at building the deep core stability needed to support the spine during daily activities. It is a fundamental exercise in physical therapy and yoga.
- My Experience: Back on hands and knees, I extended my right arm straight forward and simultaneously extended my left leg straight back, keeping the leg low and parallel to the floor. The key was keeping my hips perfectly level; I imagined balancing a glass of water on my lower back.
- The Relief: I held the extension for five seconds before slowly bringing the arm and leg back down. I alternated sides, doing ten repetitions on each side. This move teaches the deep core muscles (transversus abdominis) to fire and stabilize the spine under mild load. It is one of the safest and most effective exercises to prevent low back pain. The focused control required here was a huge step forward in my core strength journey.
6. Sphinx Pose (Salamba Bhujangasana):
After all the flexion from sitting, the spine needs gentle extension. Cobra Pose was too intense for me initially, but Sphinx Pose was the perfect, safe alternative.
- My Experience: I lay on my belly and placed my elbows directly under my shoulders, forearms flat on the floor, palms down. I gently lifted my chest, drawing my shoulders back and down. I let my hips relax on the floor, allowing a very mild, non-straining arch in my lower back.
- The Relief: I stayed here for one to two minutes, using the breath to relax my glutes and allow the front of my body to open. This pose helps counter the forward slump of desk work and is incredibly therapeutic for the discs and muscles of the lumbar region. It is a fantastic pose for gently realigning the spine after hours of sitting.
My Long-Term Strategy:
The biggest lesson I learned was that showing up every day for fifteen minutes was infinitely better than attempting an hour-long, intense session once a week. Consistency is the true key to managing chronic back pain.
- Morning Ritual: I committed to the Cat Cow and Child’s Pose routine immediately after waking up, before even reaching for my phone. This made me feel limber and less stiff right from the start of the day.
- Mid-Day Reset: If I were stuck at my desk, I would sneak in a quick two-minute Cat Cow sequence on the carpet or even a seated version in my chair. Breaking up the sitting time was non-negotiable for back health.
- Listening to the Body: On days when the pain was flaring, I skipped the strengthening poses (Phase Two) and focused entirely on Child’s Pose and gentle stretches. I learned to treat my body not as an enemy to be pushed, but as an ally that needed communication and care. This approach transformed my recovery and made yoga for back routines a source of comfort, not dread.
My back is not perfect every single day. I still have stiffness after a massive workload or a very long flight. But now, I have the tools to address it immediately, safely, and effectively. I no longer rely on pills or appointments; I rely on the wisdom of my own body, guided by these simple, powerful yoga for back routines. If I could give one piece of advice to my former, aching self, it would be this: start moving gently now. The relief is closer than you think.
FAQs:
Q1: How often should I perform these yoga routines for back pain?
A: Consistency is key; aim for the gentle Cat Cow and Child’s Pose routine daily, with strengthening poses three times per week.
Q2: Should I continue if a pose causes sharp or sudden pain?
A: No, stop immediately; gentle yoga should create a comfortable stretch and release, not sharp or sudden pain.
Q3: Which pose is best for instant decompression of the lower spine?
A: Child’s Pose (Balasana) is excellent for non-straining spinal decompression and releasing tension in the lumbar muscles.
Q4: What is the main goal of the Bridge Pose in a back routine?
A: The main goal is to strengthen the glutes, which act as a powerful support system to reduce strain on the lower back.
Q5: Can I replace my physical therapy exercises with these yoga poses?
A: Always consult your physician or physical therapist before substituting prescribed exercises with yoga for back routines.
Q6: Why is consistent practice more important than intense sessions?
A: Consistency ensures the deep core stabilizers and spinal muscles are regularly nourished, leading to long-lasting, sustainable back pain relief.